Here, we describe how to install WSL 2 to serve as the backend for Docker Desktop for Windows.
We start by describing how to install WSL 2 based on the install documents, then show how to install Docker Desktop.
The Windows Subsystem for Linux (WSL) is a way to run a full Linux environment on your Windows machine, without having to install a “heavier” virtual machine, such as Virtual Box, VM Ware, or Hyper-V. WSL 2 also provides a mechanism for running Docker (with Linux containers) on your Windows machine. We’ll install it as a prerequisite for Docker Desktop for Windows.
We’ll start by installing WSL 1 by enabling the WSL feature.
Open PowerShell as Administrator (I hit the Start key, type
powershell and hit ctrl+shift+enter to open an elevated command
prompt). Run the following, to enable WSL 1
dism.exe /online /enable-feature /featurename:Microsoft-Windows-Subsystem-Linux /all /norestart
You should see the following:
> dism.exe /online /enable-feature /featurename:Microsoft-Windows-Subsystem-Linux /all /norestart

Deployment Image Servicing and Management tool
Version: 10.0.19041.746

Image Version: 10.0.19042.804

Enabling feature(s)
[==========================100.0%==========================]
The operation completed successfully.
That enables WSL, but we’re going to enable the newer WSL 2 version, which Docker Desktop can use to run the VM it needs to run containers.
WSL 2 uses a lightweight VM, so you need to enable the Virtual Machine feature available in Windows 10 version 1903 and higher. In the same, elevated command prompt, run:
dism.exe /online /enable-feature /featurename:VirtualMachinePlatform /all /norestart
You should see something like the following:
> dism.exe /online /enable-feature /featurename:VirtualMachinePlatform /all /norestart
Deployment Image Servicing and Management tool
Version: 10.0.19041.746

Image Version: 10.0.19042.804

Enabling feature(s)
[==========================100.0%==========================]
The operation completed successfully.
Time to restart your machine to ensure everything is registered correctly.
Download the WSL2 Linux kernel update package for x64 machines and install it.
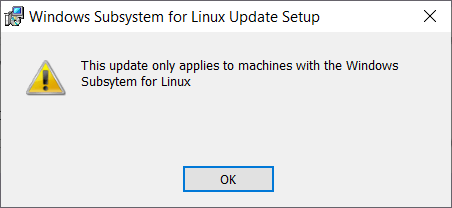
Note: if you see the following error when running the update, make sure you’ve restarted your machine afer installing the WSL 1 and VM features:
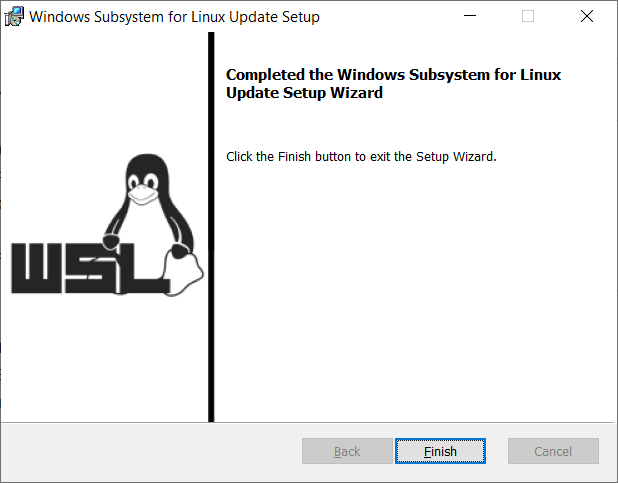
The installer runs very quickly, and hopefully you’ll see a confirmation screen, something like the following:
This is an easy step, just run wsl --set-default-version 2 in a
PowerShell window:
> wsl --set-default-version 2
For information on key differences with WSL 2 please visit https://aka.ms/wsl2
That’s the prerequisite starter for Docker Desktop covered, so now lets get to the main course!
Head to the Docker Desktop website and download the Installer for Windows.. This is a hefty ~500MB, but once it’s finished, run the installer.
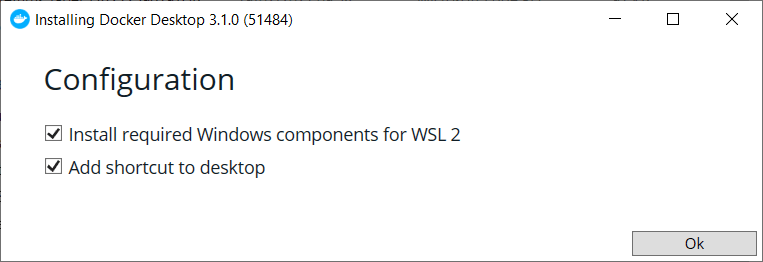
On the first screen, ensure you keep “Install required components for WSL 2” checked:
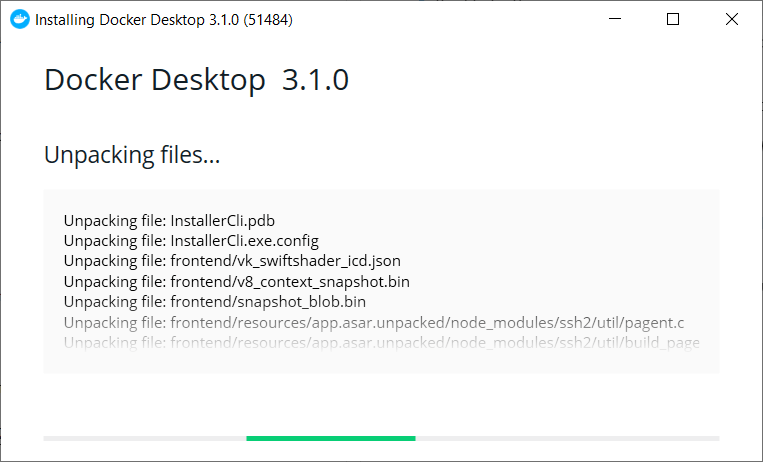
After clicking OK, the installer will unpack a whole load of files:
Before finally prompting you to log out of your Windows account to complete the installation:
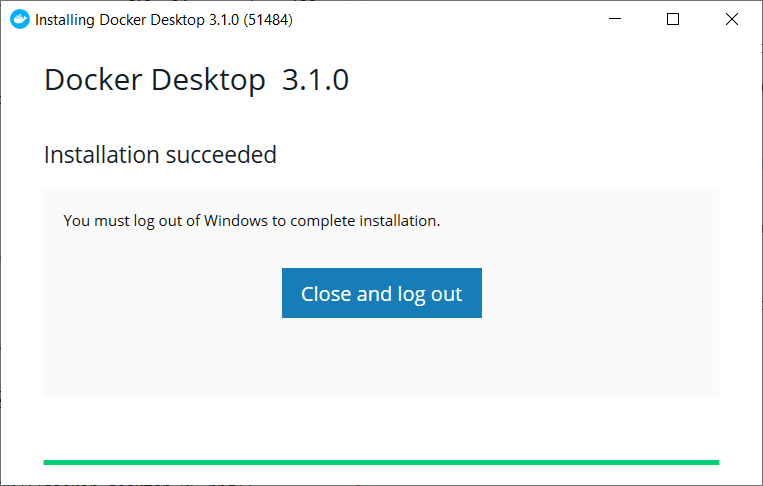
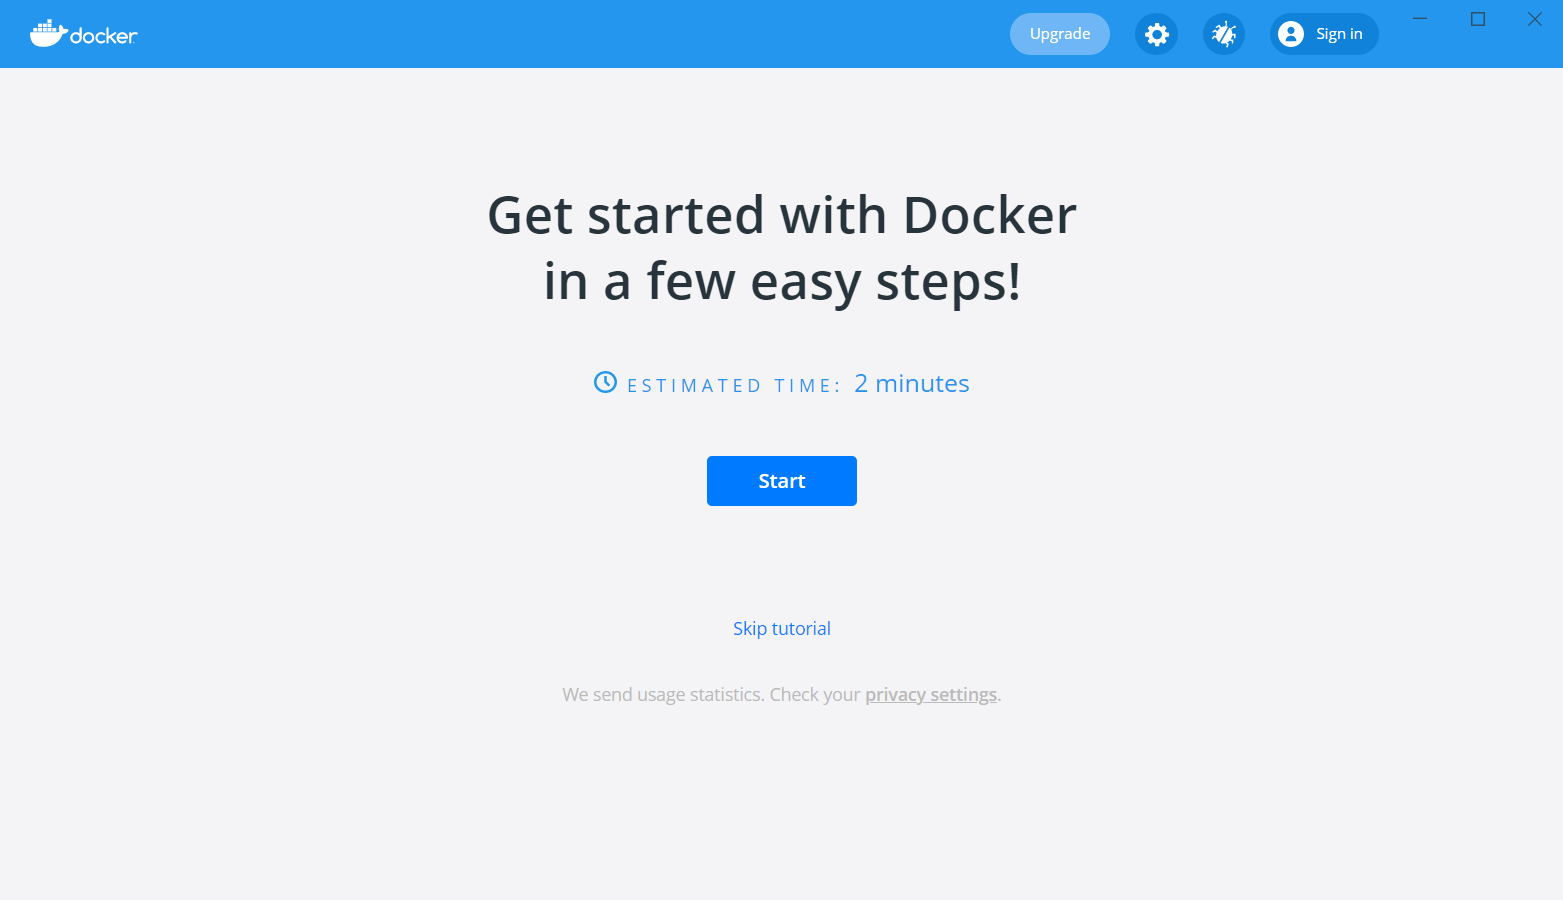
The Docker Desktop installer will automatically log you out of your Windows account on completion. When you sign back in, you’ll get a notification that Docker is starting the Linux Containers WSL 2 backend. Eventually, the main Docker Desktop window will pop up, and offer you a tutorial
With Docker Desktop installed, you now have the docker command
available in a Powershell window:
> docker

Usage:  docker [OPTIONS] COMMAND

A self-sufficient runtime for containers

Options:
...
Now Docker has been installed!