In this tutorial, you will learn how to develop a Web application for
Tomcat using Java servlet and Java ServerPages (JSP) and package it as a
Web application archive file. Before you get started, you need to run
the tomcat container so that your tomcat server is running and is
accessible at http://localhost:8888/.
Most Web applications consist of a fair number of files (like .html,
.css, .jsp, .jpg, .class, …). A Web application archive (WAR) file
is a collection of these files compressed in the zip format. By putting
together all these files in a single archive file, you can simply drop
it at $CATALINA_BASE/webapps to deploy it to your Tomcat server.
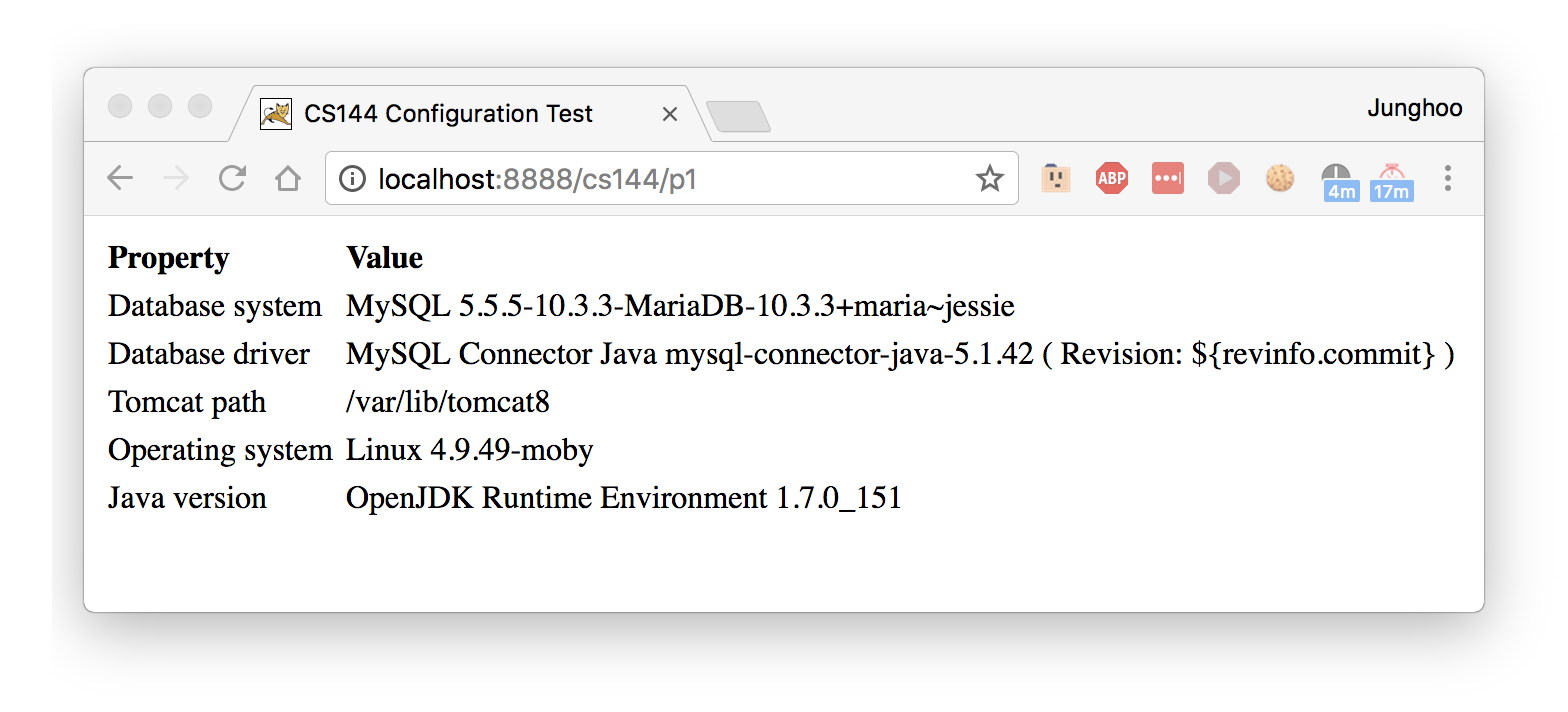
To follow the first part of this tutorial, download our sample Web
application archive file demo.war, copy it to
$CATALINA_BASE/webapps in your container, and access
http://localhost:8888/demo/p1 using your host browser. If you see a
page similar to the following, you have successfully deployed our sample Web
application. (If you get an error, try restarting your container.)
Now look at the contents in the the $CATALINA_BASE/webapps directory
in your container. Note that Tomcat has created the demo subdirectory
(from the demo.war file that we just copied). For efficiency reasons,
when a new application archive is installed, Tomcat by default extracts
and “caches” all the files in the archive into the subdirectory of the
same name. This way, it can avoid reading the large .war file
repeatedly to handle HTTP requests and read only the necessary files in
the subdirectory.
Since a Tomcat server may host multiple .war files, it uses the URL of an HTTP request to determine which Web application should handle it. For example, an HTTP GET request for the the demo application we just deployed at http://localhost:8888/demo/p1 would look something like:
GET /demo/p1 HTTP/1.1
Since the first URL path component of this request is demo, Tomcat
determines that this request should be handled by demo.war archive.
We now explain how the rest of the request URL (like /p1 in
/demo/p1) is mapped to a file and/or a Java class in the WAR file.
Most Web applications consist of a number of “static” files (.html,
.jpg, …) and Java class files (.class). Within a WAR file, all static
files are stored at the root directory of a WAR file. As an example,
take a look at the files inside our demo.war file in
$CATALINA_BASE/webapps (in principle, you will have to “unzip” the
demo.war file first to see its content, but since Tomcat has already
expanded and “cached” its contents in the demo subdirectory, you
can just look at the demo directory instead). You will see two files
README.txt and results.jsp in the directory. These static files are
accessible simply by appending their names to the URL of the
application. For example, the README.txt file can be accessed at
http://localhost:8888/demo/README.txt. Similarly, if there were a
file another.html in the subdirectory dir, the file would have been
available at http://localhost:8888/demo/dir/another.html.
Now what about http://localhost:8888/demo/p1 ? This URL returns the
above configuration page, but you may have noticed that there is no p1
file! The reason why there is no file named p1 is because the page is
generated dynamically by a Java class in the WAR file. Then how does the
Tomcat server know that /demo/p1 should be generated by a Java class?
This is where the deployment descriptor file comes in, located at
WEB-INF/web.xml in the WAR file. This XML file is processed by Tomcat
automatically when your Web application is deployed and describes the
important “mapping” information between a URL and the Java class
files. Now open the WEB-INF/web.xml file. You will see the following
content:
<?xml version="1.0" encoding="UTF-8"?>
<web-app id="demo.config" version="2.4" xmlns="http://java.sun.com/xml/ns/j2ee">
    <display-name>Demo</display-name>
    <servlet>
        <servlet-name>P1Servlet</servlet-name>
        <servlet-class>ConfigurationTest</servlet-class>
    </servlet>
    <servlet-mapping>
        <servlet-name>P1Servlet</servlet-name>
        <url-pattern>/p1</url-pattern>
    </servlet-mapping>
    <welcome-file-list>
        <welcome-file>index.html</welcome-file>
        <welcome-file>index.jsp</welcome-file>
    </welcome-file-list>
</web-app>
The important part is the <servlet> and <servlet-mapping> elements.
The element <servlet> names the Java class
ConfigurationTest as “P1Servlet”. Then the element <servlet-mapping> maps the
servlet named “P1Servlet” to the URL pattern /p1. Combined together,
the two elements say that requests to the URL
/p1 of this Web application should be handled by the Java class
ConfigurationTest. In a WAR file, all Java class
files are placed in the WEB-INF/classes/ directory, so Tomcat will
search for WEB-INF/classes/ConfigurationTest.class
in the WAR file.
Now that we understand the basic structure of a WAR file, we will be
creating a very simple WAR file, called simple.war, that just contains
a static “hello, world” type HTML page and the basic web.xml file.
Here is a step-by-step instruction on how you can create a .war file.
Our “tomcat” container has necessary JDKs preinstalled, follow these
instructions inside the container.
Create a temporary folder to place all files that should go into the
.war file. Make it as your current directory by cd into the
directory.
Create a file named hello.html in your temporary directory with the
following content.
<!DOCTYPE html>
<html>
<head><title>Hello World</title></head>
<body><h1>Hello World</h1></body>
</html>
Create a WEB-INF folder and create the deployment descriptor file
web.xml in it with the following content.
<web-app id="simple" version="2.4">
    <welcome-file-list>
        <welcome-file>hello.html</welcome-file>
    </welcome-file-list>
</web-app>
This descriptor file will make the hello.html page as the “default page” that your application returns.
At the root of your temporary folder (where you created the hello.html file),
use the jar command to create your WAR file.
$ jar cfM simple.war *
Then your jar file will contain the following list of directories and files:
simple.war
 +- hello.html
 +- WEB-INF
     +- web.xml
After building the simple.war file, and deploy it by copying it
into the $CATALINA_BASE/webapps directory of your Tomcat server:
$ cp simple.war $CATALINA_BASE/webapps
Once you deploy it, point your browser to http://localhost:8888/simple. You
should see the “Hello World” page you specified as the welcome-file.
We now implement a very simple Java servlet class and make it available at
http://localhost:8888/simple/hello by adding it to simple.war
created above.
A Java servlet is a program that runs on a Web Application server (such as Apache Tomcat) and acts as a middle layer between a requests coming from a Web browser and databases or other applications running on the server. Using a servlet, you can take input from users through HTML forms, perform complex data processing, and generate a Web page dynamically.
More precisely, servlets perform the following tasks:
A Java servlet is a Java class (based on the Java Servlet specification) that is
run by a Web application server.
A servlet is created by extending the javax.servlet.http.HttpServlet
class in the javax.servlet and javax.servlet.http packages.
A servlet’s life cycle, the entire process from its creation through its destruction, is roughly as follows:
init() method is called.doGet(), doPost(), doPut(), etc., method of the servlet is called.destroy() method is called.destroy() method call, the servlet is destructed and garbage collected.The main task of any servlet is to generate a response to an HTTP request,
so you will have to override one (or more) doXXX() methods
(override doGet() to handle the HTTP GET method, for instance)
when you implement your own servlet.
In addition, if your application needs to take certain initialization and clean-up actions,
you will need to
override the init() and destroy() methods, respectively. These methods are called exactly once
at the beginning and the end of a servlet’s life cycle, respectively.
For your reference, here are the signatures of init(), doGet(), and destroy() methods
of the javax.servlet.http.HttpServlet class:
public void init() throws ServletException {
    // Initialization code...
}

public void doGet(HttpServletRequest request, HttpServletResponse response)
    throws ServletException, IOException {
    // The data from the request can be obtained from the request parameter
    // The response from your code should be written to the response parameter

    // Request handling code...
}

public void destroy() {
    // Finalization code...
}
Now that you have a basic understanding of servlet,
create your first servlet class, Hello, by extending
javax.servlet.http.HttpServlet,
and overriding the doGet() method like the following:
import javax.servlet.Servlet;
import javax.servlet.ServletException;
import javax.servlet.http.HttpServlet;
import javax.servlet.http.HttpServletRequest;
import javax.servlet.http.HttpServletResponse;

import java.io.IOException;
import java.io.PrintWriter;

public class Hello extends HttpServlet implements Servlet {

    public Hello() {}

    protected void doGet(HttpServletRequest request, HttpServletResponse response)
    throws ServletException, IOException
    {
        PrintWriter out = response.getWriter();
        out.println("<!DOCTYPE html>");
        out.println("<html>");
        out.println("<head><title>Servlet Example</title></head>");
        out.println("<body>Hello, " + request.getParameter("name") + "!<br>");
        out.println("Greetings from a Java Servlet.</body>");
        out.println("</html>");
        out.close();
    }
}
By overriding the inherited doGet() method, you customize what
your servlet should do when the Tomcat server forwards an HTTP GET
request to it. Save the above Java code as Hello.java file
and compile it into the Java class Hello.class.
$ javac Hello.java
Copy the complied Hello.class to WEB-INF/classes subfolder of your temporary
folder (in which you created the simple.war file previously).
Then modify your web.xml to add the following <servlet> and <servlet-mapping> elements
as child elements of the <web-app> element.
<servlet>
    <servlet-name>Hello</servlet-name>
    <servlet-class>Hello</servlet-class>
</servlet>
<servlet-mapping>
    <servlet-name>Hello</servlet-name>
    <url-pattern>/hello</url-pattern>
</servlet-mapping>
The above addition will forward all requests at the path /hello to our Hello class that we just created.
Create a new simple.war file by running the jar command again at the root
of your temporary folder:
$ jar cfM simple.war *
This command will build a new simpler.war file that contains the following directories and files:
simple.war
    +- hello.html
    +- WEB-INF
        +- web.xml
        +- classes
            +- Hello.class
Deploy the new simple.war,
$ cp simple.war $CATALINA_BASE/webapps
and access the URL http://localhost:8888/simple/hello?name=John through your browser on host. You should see a Web page with the HTML content generated by the servlet.

Note that by pointing your browser
to that URL, you have issued an HTTP GET request, which has been handled
by the doGet() method of your Java servlet, which generated
the response by writing into the response parameter as shown
above. Note that the HTML parameter “name” was passed to doGet() in request parameter,
which was accessed through request.getParameter("name").
Read the documentation on HttpServletRequest
and HttpServletResponse to
learn about these classes.
As you can see, it is relatively easy to write a Java class which returns HTML. It should also be apparent that returning an entire HTML page with println statements quickly becomes tedious and leads to an unmanageable spaghetti code of Java and HTML. For these reasons (and many others), we strongly suggest the separation of your main application logic from data presentation (this separation is often referred to as the Model-View-Controller (MVC) design pattern). Although we will not be using a special MVC Java framework for this separation (such as Struts), conceptually you can still think of your Web site as having two distinct layers: a “business logic layer” handled by Java servlets and a “presentation” layer, which we will handle with JSP.
The “business logic” in our application consists of retrieving the appropriate data for a user query. Once we have this data (e.g. a set of ItemIds and Names), we will forward it along with the request to a JSP page, which is, in some sense, a template HTML page. The JSP page will generate an HTML page using a combination of static HTML content and JSP scriptlets.
JavaServer Pages (JSP) is a standard that helps software developers create dynamically generated web pages based on HTML. JSP is similar to PHP and ASP, but it uses the Java programming language. JSP allows simple Java code to be interleaved with static HTML content, with the resulting page being compiled and executed on the server to generate the response document.
JSP pages use several delimiters for scripting functions. The most basic is
<% ... %>, which encloses a JSP scriptlet. A scriptlet is a fragment of Java code that is run when the user requests the page.
Other common delimiters include <%= ... %> for expressions, which is replaced with the result of enclosed Java code.
For example, the following JSP page
<p>Counting to three:</p>
<% for (int i=1; i<4; i++) { %>
    <p>This number is <%= i %>.</p>
<% } %>
<p>OK.</p>
will generate the following HTML page and deliver it to the browser when the user requests it:
<p>Counting to three:</p>
    <p>This number is 1.</p>
    <p>This number is 2.</p>
    <p>This number is 3.</p>
<p>OK.</p>
Now, refactor your servlet code according to the MVC pattern by separating out “views” into a JSP page:
Modify your servlet class doGet() method to the following:
protected void doGet(HttpServletRequest request, HttpServletResponse response)
throws ServletException, IOException
{
    String pageTitle = "Servlet Example";
    request.setAttribute("title", pageTitle);
    request.getRequestDispatcher("/index.jsp").forward(request, response);
    return;
}
In general, a “controller” servlet code performs complex data retrieval and processing (while our example code is extremely simple),
and sends the result to a JSP page, index.jsp in this example, for “presentation” of the result.
Create a file named index.jsp with the following content:
<!DOCTYPE html>
<html>
<head>
    <title><%= request.getAttribute("title") %></title>
</head>
<body>
    Hello, <%= request.getParameter("name") %>!<br>
    Greetings from JSP.
</body>
</html>
The primary function of a JSP page is to “display” the result forwarded by the servlet controller as text and HTML tags,
with occasional Java scriptlets and expressions sprinkled around.
The character sequences <%= and %> in the JSP page enclose Java
expressions, which are evaluated at run time when the page is
returned. Since the servlet sets the “title” attribute of request to “Servlet Example”
the first expression will be replaced with “Servlet Example”
and the second expression will be replaced with the value of “name” parameter
in the user’s HTTP request.
Once again, rebuild your simple.war file, this time also
including your index.jsp in the root. Deploy this .war, and
navigate again in your browser to the URL http://localhost:8888/simple/hello?name=John.
You should see a page with “Hello, John! Greetings from JSP” in the body and
the title “Servlet Example”.
This example has shown a simple way (setAttribute/getAttribute) to
pass (name, value) pairs from a Java servlet (the logic) to a JSP page
(the presentation). The “request” HttpServletRequest
object is available in both your Java servlet and in the JSP page, and can be used
to pass objects from the servlet to the JSP in these named attributes.
In this case, the value was a String, but it can be any
Java class object as long as you first “import” the class of the passed object in the JSP page. For example, if you pass an ArrayList<String> data through the attribute “posts”, you can access the passed data in the JSP page like the following:
<%@ page import="java.util.ArrayList" %>
<%  ArrayList<String> posts = (ArrayList<String>)request.getAttribute("posts");
    for (int i=0; i < posts.size(); i++) { %>
        <p><%= posts.get(i) %></p>
<%  } %>
Take some time to read the documentation for
HttpServletRequest
to learn what methods are available and how you can extract information
from an HTTP request that your servlet or JSP page received. Make
sure you understand the difference between parameters and
attributes. Also, read one of many online tutorials on JSP such as this
to learn how you can embed Java code in a JSP page in more detail.