
Throughout the quarter, our project developments will be done inside “Docker containers.” Like a virtual machine (such as VMWare, VirtualBox, and Parallels), a container technology allows running multiple isolated OS environments on a single machine, but with significantly less overhead. In particular, virtual machines run emulation at the hardware level; it creates a full-blown virtual hardware and runs a separate OS within it. In contrast, containers run emulation at the OS level; multiple containers running on a single machine share the same underlying OS kernel, but with their own filesystem and networking abstraction layer. This gives each container the illusion of running on a separate machine from others, but because they all share the same OS kernel, they incur minimal overhead.
In addition, containers make it easy to create a single “container image” that includes all libraries and software tools that our app depends on. Once created, a container image can be easily deployed to a production server, so our app will run in exactly the same environment both in development and production, minimizing the possibility of “but it worked on my machine!” error.
Go to the Docker Installation Page and download the appropriate installer for your operating system.
Once you finish installing the App, reboot your computer to ensure that all Docker drivers and programs are properly set up and running.
After installing Docker App, run the Docker app by clicking its icon. This will
start docker daemon in the background, which will wait for docker command from the user.
(If you are using Docker Toolbox, you do NOT need to execute a separate Docker app first.)
Let us make sure that our Docker has been successfully installed by executing the following command in a command-line window (such as Terminal on Mac, Command Prompt or Windows Terminal on Windows)
$ docker run -it hello-world
Note: The beginning dollar sign $ in the above line is a “common Unix convention” to indicate that the command should be typed into a command-line window. What you actually type is docker run -it hello-world, excluding the dollar sign at the beginning.
Note: If you are using Docker Toolbox, all docker commands must be executed in Docker QuickStart terminal, not the standard Windows command prompt.
You need to have an Internet connection to execute the above command first time. If the above command gives an output similar to the following, congratulations! You have successfully installed Docker on your machine.
Unable to find image 'hello-world:latest' locally
latest: Pulling from library/hello-world
ca4f61b1923c: Pull complete
Digest: sha256:445b2fe9afea8b4aa0b2f27fe49dd6ad130dfe7a8fd0832be5de99625dad47cd
Status: Downloaded newer image for hello-world:latest

Hello from Docker!
This message shows that your installation appears to be working correctly.
...
For more examples and ideas, visit:
 https://docs.docker.com/engine/userguide/
Now that you have successfully installed Docker, it is time to learn about important concepts related to Docker: Docker image and Docker container. Roughly speaking, a Docker image is like an OS installation package (such as a Windows installation ISO or macOS installation package) and a Docker container is like an actual system that is setup using the image (such as your laptop). Just like you can set up multiple machines using one OS installation package, it is possible to create multiple containers using one Docker image.
In fact, when you executed the following command earlier,
$ docker run -it hello-world
Docker performed the following sequence of operations
After Docker images and containers have been download and created, you can see the list of locally available images and containers through the following commands:
$ docker image ls
REPOSITORY          TAG                 IMAGE ID            CREATED             SIZE
hello-world         latest              f2a91732366c        5 weeks ago         1.85kB
The docker image ls command shows all Docker images that have been saved locally.
In this example, we have the “hello-world” image that was downloaded
from our earlier docker run ... command.
$ docker container ls -a
CONTAINER ID  IMAGE        COMMAND   CREATED      STATUS                 PORTS  NAMES
ceb7f467442e  hello-world  "/hello"  an hour ago  Exited (0) an hour ago        loving_volhard
The docker container ls -a command shows all Docker containers that have been created.
Note the last “NAMES” column in the output, which has the value “loving_volhard”
in this example. (This value is likely to be different on your machine.)
Whenever Docker creates a new container, it assigns a unique random name
– in our example “loving_volhand” –
so that the user can refer to the container using the name in future commands.
For example, if we want to start the “loving_volhard” container again,
we can execute
$ docker container start -i loving_volhard # replace loving_volhard with your container name
which will print out the “Hello from Docker!” and some help messages on the terminal.
NOTE: docker container ls -a shows all containers that have been created.
If you want to see only the currently-running containers, you can use
the docker container ls command without -a (-a means all).
Now you are ready to download and set up the Docker container that we will use for the first two projects.
Note: If you mess up somehow and want to start from scratch for this part, please run the command docker container rm tomcat first before you restart.
This will remove the docker container that may have been created while you are following the instructions.
First, create a directory on your computer
where you will create and maintain files for this class. In this tutorial, we
will assume to use /Users/cho/cs144/ as such a directory. Then execute the following command after replacing {your_shared_dir} with the just created directory name (i.e., /Users/cho/cs144/, note the removal of curly braces { }!):
Then execute the following command after replacing {your_shared_dir} with your directory name (i.e., /Users/cho/cs144/):
$ docker run -it -v {your_shared_dir}:/home/cs144/shared -p 8888:8888 --name tomcat junghoo/tomcat
Note:
Desktop, Downloads and Documents. If you do, you may experience unexpected problems.{your_shared_dir} in the Unix format (e.g. /c/Users/cho/shared), not in the Windows format (e.g., C:\Users\cho\shared). See our Windows FAQ page if you encounter any issue related to the shared folder setting.FYI, the above command asks Docker to perform the following actions:
--name tomcat option).{your_shared_dir} (i.e., /Users/cho/cs144/) directory on your host machine
at the /home/cs144/shared directory in the container
Any file you place in
the /Users/cho/cs144 directory on your host machine will be available in the
/home/cs144/shared directory of the container, and vice versa.-p 8888:8888 option).-t option) and connect it to the interactive terminal window of the host
(-i option).When you execute the above command, you are likely to see a sequence of output similar to the following:
Unable to find image 'junghoo/tomcat' locally
latest: Pulling from junghoo/tomcat
f49cf87b52c1: Pull complete
...
Using CLASSPATH:       /usr/share/tomcat9/bin/bootstrap.jar:/usr/share/tomcat9/bin/tomcat-juli.jar
Tomcat started.
cs144@f3339ccac015:~$
Be patient, because the image “junghoo/tomcat” is quite large (~500MB) and may take a while to download. Eventually, the “tomcat” container created from the image “junghoo/tomcat” starts MySQL and Apache Tomcat servers, and runs a linux shell, giving you the following prompt:
cs144@f3339ccac015:~$
Note that this bash shell is running in the container, and
any command that you type now will be executed inside the container.
For example, if you type pwd,
cs144@f3339ccac015:~$ pwd
/home/cs144
it prints /home/cs144, the current working directory in the container. Also, if you type whoami,
cs144@f3339ccac015:~$ whoami
cs144
it prints cs144 which is your username in the container
– your username is cs144 with password password in the container.
All your projects in this quarter should be done within one of the containers that we provide.
To make it easy to share files between your host machine
and container, we created a “shared folder” between them through the option
-v /Users/cho/cs144:/home/cs144/shared.
Any file that you add to
the /Users/cho/cs144 directory on your host machine is accessible at the /home/cs144/shared directory within the container and vice versa.
Add a new file to /Users/cho/cs144 on your host and verify that the file is accessible within the container. Delete the file in the container
and verify that the file also disappears in /Users/cho/cs144 of the host.
Note for Windows Users: Again, if you encounter an issue due to the shared folder setting, please see our Windows FAQ page to troubleshoot.
As we briefly mentioned earlier, the container starts an Apache Tomcat server when it boots up. Open a browser from you host machine and access the URL http://localhost:8888. If everything is running properly, you will see a page similar to the following:
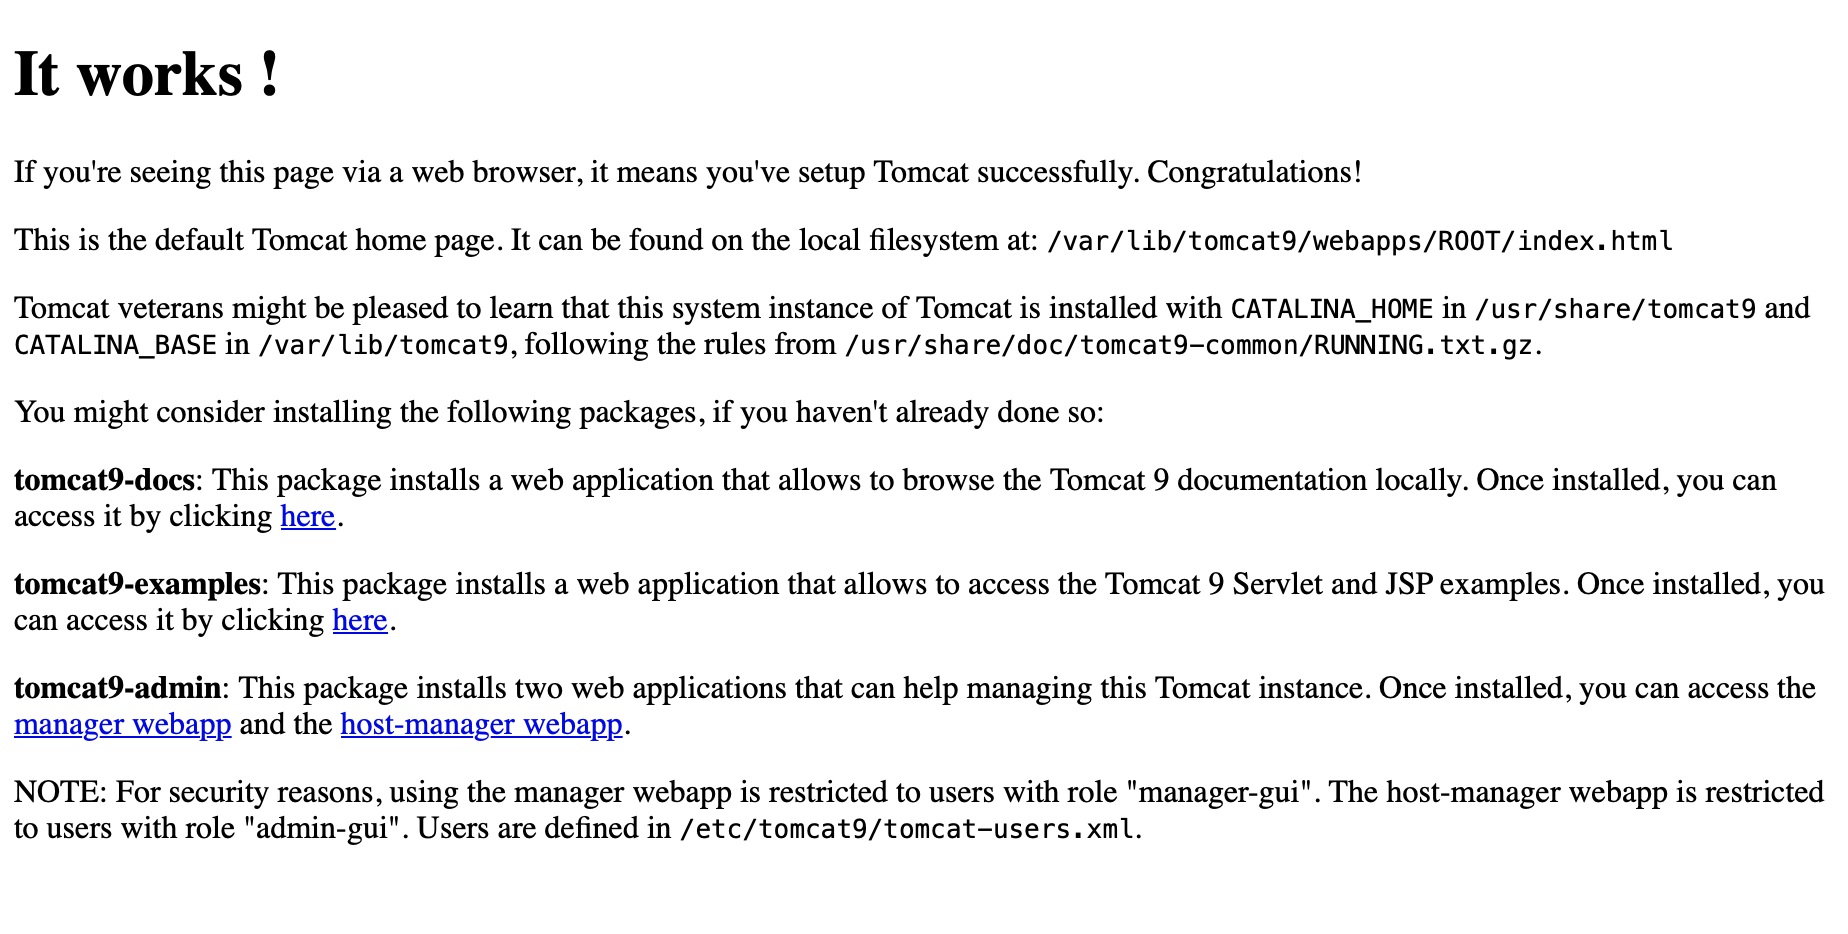
Since the host’s port 8888 is forwarded to the container’s port 8888 and the Tomcat server listens on port 8888 in the container, you can access the Tomcat server f rom a browser running in the host via http://localhost:8888.
Note: In case you are using Docker Toolbox and your browser does not display a page at http://localhost:8888, run docker-machine ls in your docker terminal to determine where your container is running. It can be, for example, 192.168.99.100. Then, go to http://192.168.99.100:8888 instead of http://localhost:8888.
Once you are done with interacting with the container, type exit in bash:
cs144@f3339ccac015:~$ exit
exit
Initiating the shutdown process...
Using CATALINA_BASE:   /var/lib/tomcat9
Using CATALINA_HOME:   /usr/share/tomcat9
Using CATALINA_TMPDIR: /var/lib/tomcat9/temp
Using JRE_HOME:        /usr/lib/jvm/default-java
Using CLASSPATH:       /usr/share/tomcat9/bin/bootstrap.jar:/usr/share/tomcat9/bin/tomcat-juli.jar
NOTE: Picked up JDK_JAVA_OPTIONS:  --add-opens=java.base/java.lang=ALL-UNNAMED --add-opens=java.base/java.io=ALL-UNNAMED --add-opens=java.rmi/sun.rmi.transport=ALL-UNNAMED
Container has been shutdown...
When the bash shell exits, the container will shut itself down, and send you back to your host machine.
From now on, if you need to start the “tomcat” container again, use the docker start command:
$ docker start -i tomcat
Using CATALINA_BASE:   /var/lib/tomcat9
Using CATALINA_HOME:   /usr/share/tomcat9
Using CATALINA_TMPDIR: /var/lib/tomcat9/temp
Using JRE_HOME:        /usr/lib/jvm/default-java
Using CLASSPATH:       /usr/share/tomcat9/bin/bootstrap.jar:/usr/share/tomcat9/bin/tomcat-juli.jar
Tomcat started.
cs144@f3339ccac015:~$
If you need to stop a running container from your host (not by typing exit within the container
shell), you can use docker stop command:
$ docker stop tomcat
Here we provide a list of frequently-used docker commands.
docker run -it -v /Users/cho/cs144:/home/cs144/shared -p 8888:8888 --name tomcat junghoo/tomcat: obtain the docker image “junghoo/tomcat” from Docker hub,
create a new container
named “tomcat”, mount the host folder /Users/cho/cs144 at the container folder /home/cs144/shared, forward the localhost port 8888 to the container port 8888, and start the
container interactively.docker start -i tomcat: start the container “tomcat” interactivelydocker stop tomcat: stop the container “tomcat”docker exec -it -u cs144 tomcat /bin/bash: execute the command /bin/bash interactively inside the running container “tomcat” as user cs144docker container ls: display currently-running containersdocker container ls -a: display all containersdocker container rm tomcat: delete the container “tomcat”docker inspect tomcat: print the configuration setting of tomcat containerdocker image ls: display all locally-saved imagesdocker image rm junghoo/tomcat: delete the local image “junghoo/tomcat”